Interior Painting Colorado Springs: The Prep That Makes It Last
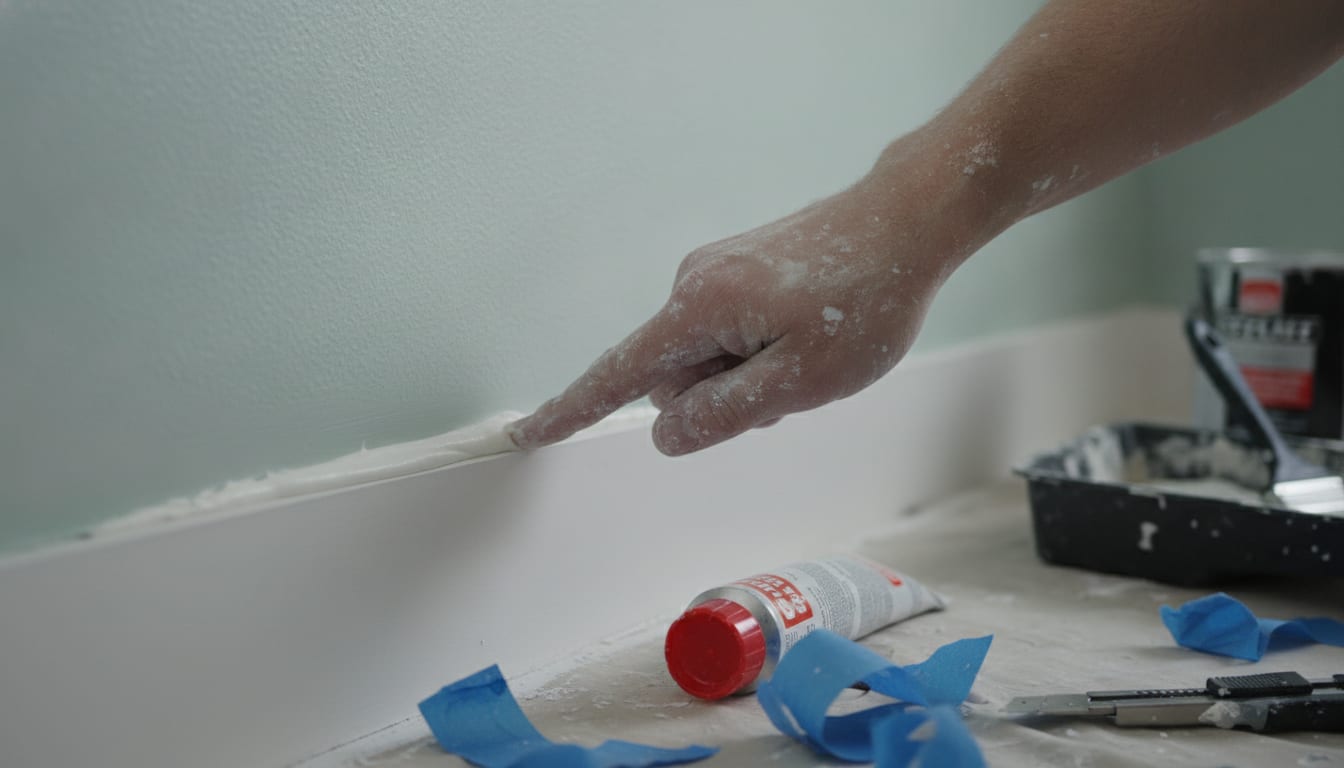
Interior painting Colorado Springs homeowners can trust starts with prep, not paint. See what filling, caulking, degloss and masking actually buy you.
Ask anyone who has repainted a room twice in three years what went wrong, and the answer almost never has anything to do with the paint itself. It has to do with what happened — or did not happen — before the paint went on. For interior painting Colorado Springs homes and businesses actually need, preparation is most of the job. The coating is the last two hours of a project that took most of a day to set up properly.
Why Prep Decides Whether the Job Looks Good in Six Months
A fresh coat of paint is unforgiving. It does not hide a dent, a seam or a greasy patch of old enamel — it highlights it. Raking light from a window at the wrong angle will show every nail pop and drywall seam that was not flattened first. That is why the real value in interior painting is almost entirely in steps most people never see finished work and think about.
Filling and Sanding: Getting the Surface Flat
Nail holes, dents, drywall seams and old picture-hanger damage all get filled, then sanded flush once dry. This sounds basic, but it is where a lot of jobs get rushed. A seam that is filled but not sanded flat will telegraph through even a good coat of paint, especially under can lights or window light. The goal is a wall that reads as flat to both the eye and the hand before a drop of paint goes on it.
Caulking the Gaps Nobody Notices Until They're Gone
Where trim meets wall, where casing meets drywall, where baseboard meets flooring — these joints open up slightly over time as a house moves with the seasons. Caulking them before painting does two things: it gives the paint a clean line to follow instead of a shadow gap, and it closes off small air paths that otherwise show up as drafts and dust lines later. It is a small step that reads as a sharp, finished edge once the room is done.
Degloss Before You Coat Over Enamel
Trim and doors are usually coated in an enamel with some sheen to it, and sheen is the enemy of adhesion. New paint needs something to grip, so existing gloss gets deglossed — scuffed enough to give the next coat a mechanical bond — before anything new goes on. Skip this step and the new coat can look fine for a few months and then start to peel in sheets at the first bump or scrape, because it was never really attached to begin with.
Spot-Priming: Not a Cheaper Coat of Paint
Bare drywall patches, stains from water or smoke, and repaired sections all get spot-primed before the finish coat. A stain-blocking primer stops old water marks or marker from bleeding back through a fresh topcoat weeks later. A bonding primer gives a finish coat something to hold onto over a patch or a glossy substrate. Primer gets chosen for the specific problem on that wall — it is not a thinner, cheaper version of the paint going over it.
Masking and Moving Furniture
Floors, fixtures, countertops and anything not being painted get masked off, and furniture gets moved to the center of the room and covered rather than worked around. This is the unglamorous part of the job, and it is also what keeps a painting project from turning into a cleanup project.
Waterborne Enamels on Trim and Cabinetry
Once the prep is done, trim, doors and cabinetry are usually finished with a waterborne enamel. It cures hard without the strong smell or the yellowing you get from an old-style oil enamel, and it is usually ready for light use within a day, fully cured within a couple of weeks. Walls and ceilings get a different product suited to the surface and the light in the room — the right choice depends on what the wall is and how it is used, not a one-size answer.
The Same Standard, Inside and Out
This same logic — fix what is actually wrong before you coat over it — is exactly how exterior painting Colorado Springs homes need gets handled too, where washing, repair and sealing come before a single coat of 100% acrylic goes on siding or trim. It is also how commercial painting Colorado Springs businesses rely on gets scheduled around operating hours, and how an apartment complex painting or HOA exterior repaint gets scoped building by building, with stucco, drywall and siding repairs written into the same job instead of showing up later as a surprise.
If you are getting a rental ready for a move-out inspection, selling a home, or just tired of touch-up paint that never quite matches, the prep is what separates a patch job from a finished one. A Happy Painting associate will take a look at the space themselves and walk you through what it actually needs before anything is priced. Estimates are free and on site, with no obligation — call (719) 373-5550 to get one scheduled.
Frequently Asked Questions
Do I need to move my own furniture before interior painting starts?
No — furniture gets moved to the center of the room and covered as part of the job, along with masking floors, fixtures and countertops that aren't being painted.
Why does paint peel off my trim even though it looked fine when it was applied?
That usually means the old enamel underneath wasn't deglossed before the new coat went on. A glossy surface doesn't give new paint anything to grip, so it can look fine for months and then peel in sheets.
Is primer really necessary, or can I skip it and just use two coats of paint?
Primer solves a specific problem — sealing a stain, bonding to a patch, or holding back bleed-through — that paint isn't formulated to fix. Two coats of finish paint over an unprimed stain or repair usually means the problem shows back through eventually.